

こんにちは。バックエンドエンジニアの奥村です。
javaの環境構築記事はまだまだeclipseが多いので、今回はvscodeでspring bootの環境構築を行います。
事前準備
事前にvscodeの拡張をインストールしておきます。
以下をインストールしておくことで、補完機能など使えるようになります。
- Etension Pack for Java
- Spring Boot Extension Pack
spring boot プロジェクト生成
コマンドパレットから、Gradleプロジェクトのspring bootを選択します

spring bootのバージョンを選択します。

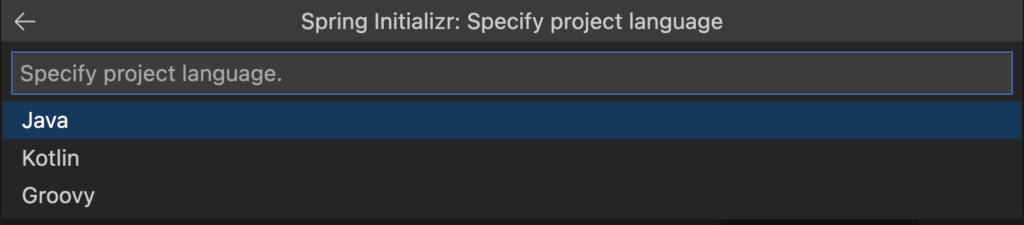
言語を選択します。今回はjavaなのでjavaを選択します。
パッケージ名を入力します。

プロジェクト名を入力します。

パッケージタイプはjarを選択します。

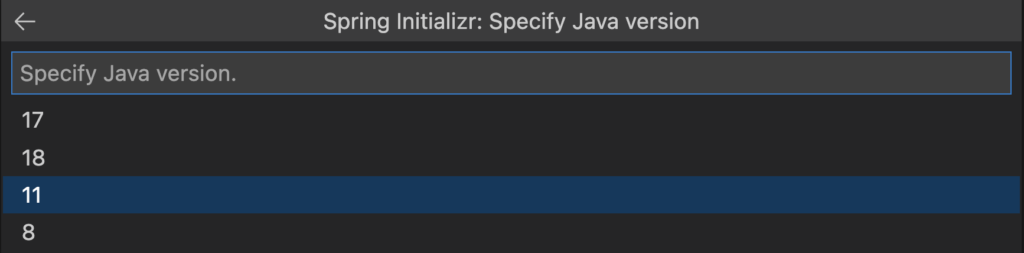
javaのバージョンを選択します。
ライブラリを選択します。ここで選択したライブラリはbuild.gradelのdependenciesに入ります。
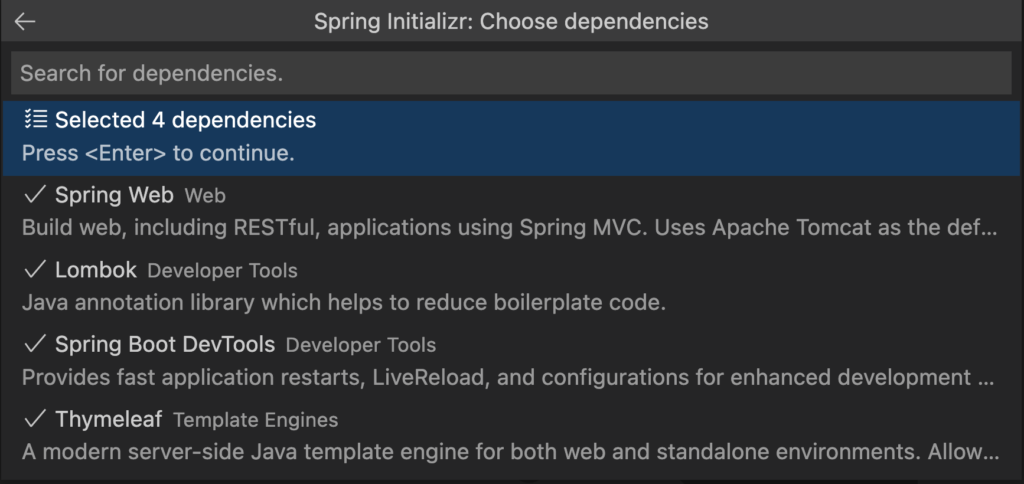
| Spring Web | |
| Lombok | setterやgetterなどの冗長なコードの記述を省けます |
| Spring Boot DevTools | ファイルを保存した瞬間に、webアプリケーションを自動で再起動してくれます |
| Thymeleaf | spring_bootが標準で使うテンプレートエンジンです |
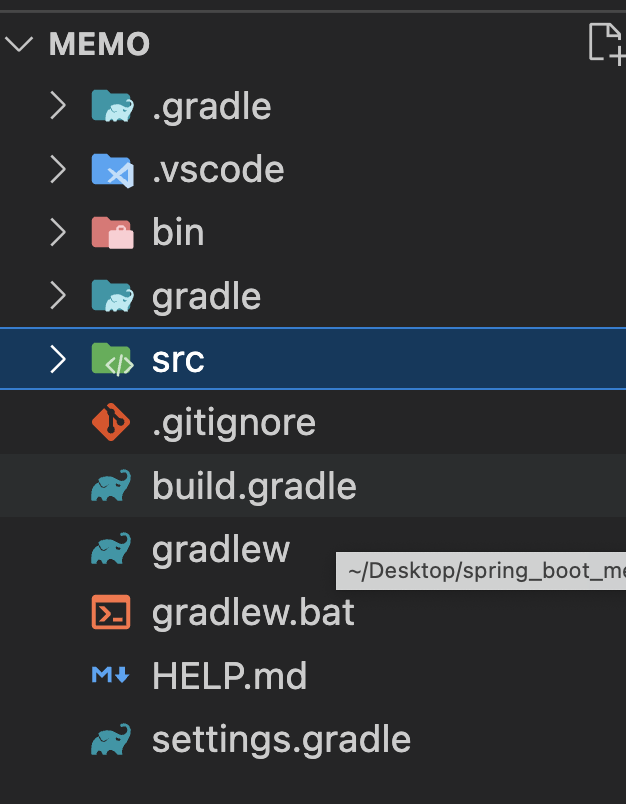
ライブラリを選択し、Enterを押すと以下のような構造でファイルができます
Hello Worldを出力
今回memoアプリの作成を行いたいと思いますが、まずはhello wroldを出力するところまで書きたいと思います。
src/main/resources/templates配下にindex.htmlを作成します。

<!DOCTYPE html>
<html>
<head>
	<title>hello world</title>
</head>
<body>
	<h2>Hello World</h2>
</body>
</html>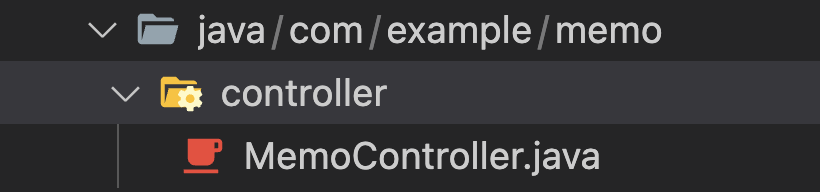
src/main/java/com/example/memo/配下にcontroller/MemoController.javaを作成します
package com.example.memo.controller;

import org.springframework.stereotype.Controller;
import org.springframework.web.bind.annotation.RequestMapping;

/**
 * controller
 */
@Controller
public class MemoController {
	@RequestMapping("index")
	public String index() {
		return "index";
	}
}
indexメソッドでreturn indexをしている部分でindex.htmlを返しています。
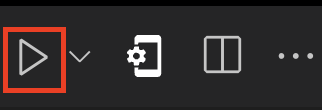
実行
上部にある実行ボタンを押すと、コンパイルとサーバーの起動を行ってくれる
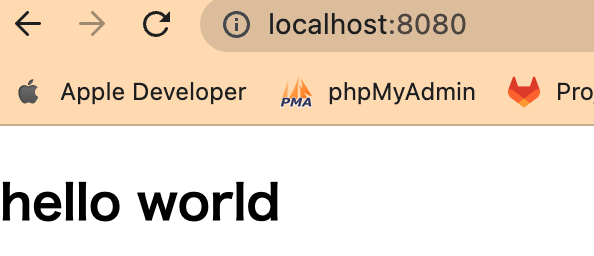
localhost:8080にアクセスすると、hello worldの表示が確認できた